Let’s jump into it: how do you set conditional className values in JSX?
We’ll explore ternary operators, template literals, and the use of classnames() to add multiple className values.
Specific Examples
Three ways to set a conditional className in React
Choose one depending on complexity of condition, number of className values, and how often you want to set className conditionally.
classnames() function
classnames() is great for advanced use cases. It has intuitive syntax, so you can easily set multiple className values and even multiple conditions.
Example: set multiple className values conditionally
First, install the classnames package and import function of the same name.
classnames() function is pretty simple. It takes one argument – an object with key-value pairs.
import { useState } from "react";
import classnames from "classnames";
export default function App() {
  const [error] = useState(true);
  const [criticalError] = useState(false);
  return (
    <div
      className={classnames({
        padded: true,
        mainContainer: false,
        warning: error,
        dangerous: criticalError
      })}
    >
      Hello, world
    </div>
  );
}
Property names represent potential className values. className will only apply if value of the property is true (or truthy).
In the example above, the <div> element could have four className values: padded, mainContainer, warning, dangerous.
paddedwill always be applied, because its value is set totrue.-
mainContainerwill never be applied, because its value is set to false. warningclassName value will be applied iferrorvariable evaluates to true.dangerousclassName will be applied ifcriticalErrorvariable evaluates to true.
You can use AND ( && ) and OR ( || ) logical operators to chain multiple conditions. For example: dangerous: criticalError && error – so dangerous className will only be applied if both – criticalError and error are true.
Ternary operator
Ternary operators are good for basic use cases. They become unreadable if the condition is too complex, or if there are many conditions.
Example: add a conditional className value
You can write JavaScript expressions inside JSX.
Let’s look at a simplest example:
function App() {
  const condition = true
  const result = condition ? "large" : "small";
  return (
    <div className={result}>
      <h1>Hello, world</h1>
    </div>
  );
}
First, we have a ternary operator that evaluates condition variable. If it’s true, ternary operator returns 'large', if it’s false, it returns small. The outcome is stored in the result variable.
In JSX, we set className of the <div> element to the result of a ternary operator.
In JSX, JavaScript expressions need to be wrapped with curly braces.
Multiple className values – example
You can use template literals to conditionally apply different sets of multiple className values.
Let’s look at an example:
export default function App() {
  const [boolean, setBoolean] = useState(true);
  return (
    <div
      className={
        `${boolean ? "redBox mainDiv padded" : "blackBox secondaryDiv flat"} `
      }
    >
      <button onClick={() => setBoolean(!boolean)}>Change the boolean</button>
    </div>
  );
}
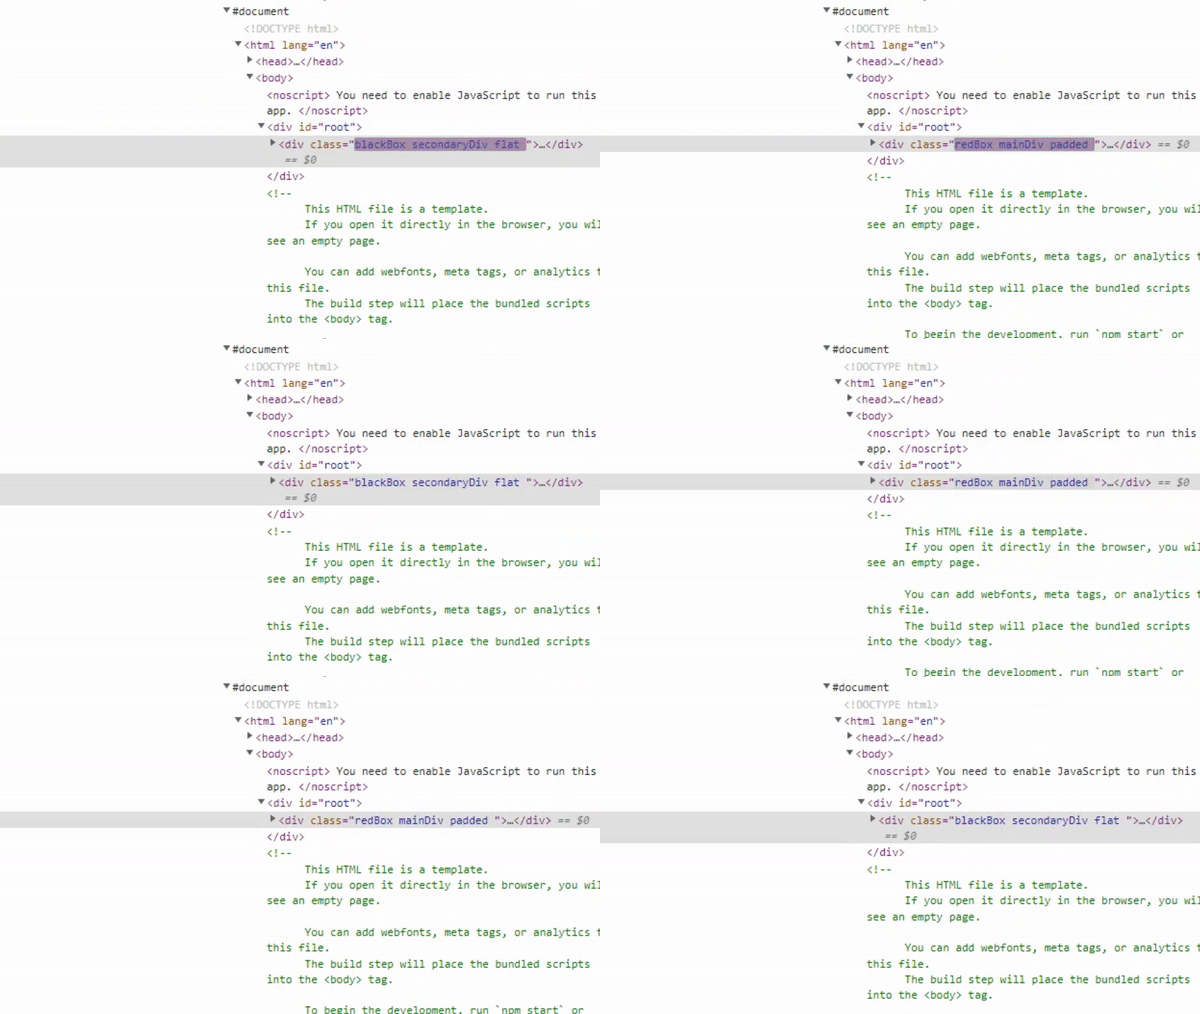
Depending on value of boolean state variable, the <div> element is going to have one of two sets of className values: ‘redBox mainDiv padded’ or ‘blackBox secondaryDiv flat’.
Let’s see how flipping the value of boolean state variable changes <div> element’s className value:

Template literals
A cleaner, more readable way to apply conditional classes in React.
Template literals are just like normal strings, except for one big difference – they allow us to embed JavaScript expressions.
If you want to add multiple className values conditionally, template literals are very useful. With normal strings, you have to awkwardly add empty spaces between multiple className values. Template literals are much more readable.
Another difference is that instead of using normal quotes (“) we use backticks (`) to mark template literals’ beginning and end.
Apply some classNames conditionally
Let’s discuss example where one className value is applied conditionally, and another className is always there.
<div className=`${variable} large`></div>We must use the dollar symbol and curly braces to embed JavaScript expressions in template literals.
More examples
Conditionally choose between two className values in React
Here’s another example where outcome of a condition determines the className value.
A ternary operator evaluates the boolean value, and returns 'redBox' strings if it is true, and 'blackBox' if it’s false.
export default function App() {
  const [boolean, setBoolean] = useState(true);
  return (
    <div className={boolean ? "redBox" : "blackBox"}>
      <button onClick={() => setBoolean(!boolean)}>Change the boolean</button>
    </div>
  );
}
We use the useState() hook to initialize the boolean state variable to true. Because boolean is true by default, the default value of className value will be 'redBox'.

Open live demo and click the button that flips the current value of boolean variable.
Condition to set a className value or not – example
What if we want to set a className value if the condition is satisfied, but not add any className if the condition is not satisfied? Let’s explore how to do this in React.
The best and simplest way is to use JavaScript ternary operator.
export default function App() {
  return (
    <div className={2+2=4 ? "green" : null}>
    </div>
  );
}
If the condition is evaluated to true, JSX will set className to green. If it’s false, the element will not have a className attribute at all.
Sometimes developers make the mistake of returning an empty string (“”) instead of null. It’s more efficient to return null.

Returning null makes sure that the element will not have a valueless class attribute.
Add multiple conditional className values using a ternary operator – example
Sometimes you want the React element to have multiple conditional and non-conditional className values.
Here is an example where the first className value is conditional, while the other two are always applied:
export default function App() {
  const [boolean, setBoolean] = useState(true);
  return (
    <div
      className={
        (boolean ? "redBox" : "blackBox") + " " + "mainDiv" + " " + "padded"
      }
    >
      <button onClick={() => setBoolean(!boolean)}>Change the boolean</button>
    </div>
  );
}
In this case, we use the + operator to concatenate multiple strings. We conditionally apply the first className string, and concatenate two other strings, regardless of condition.
Make sure there are spaces between className values.
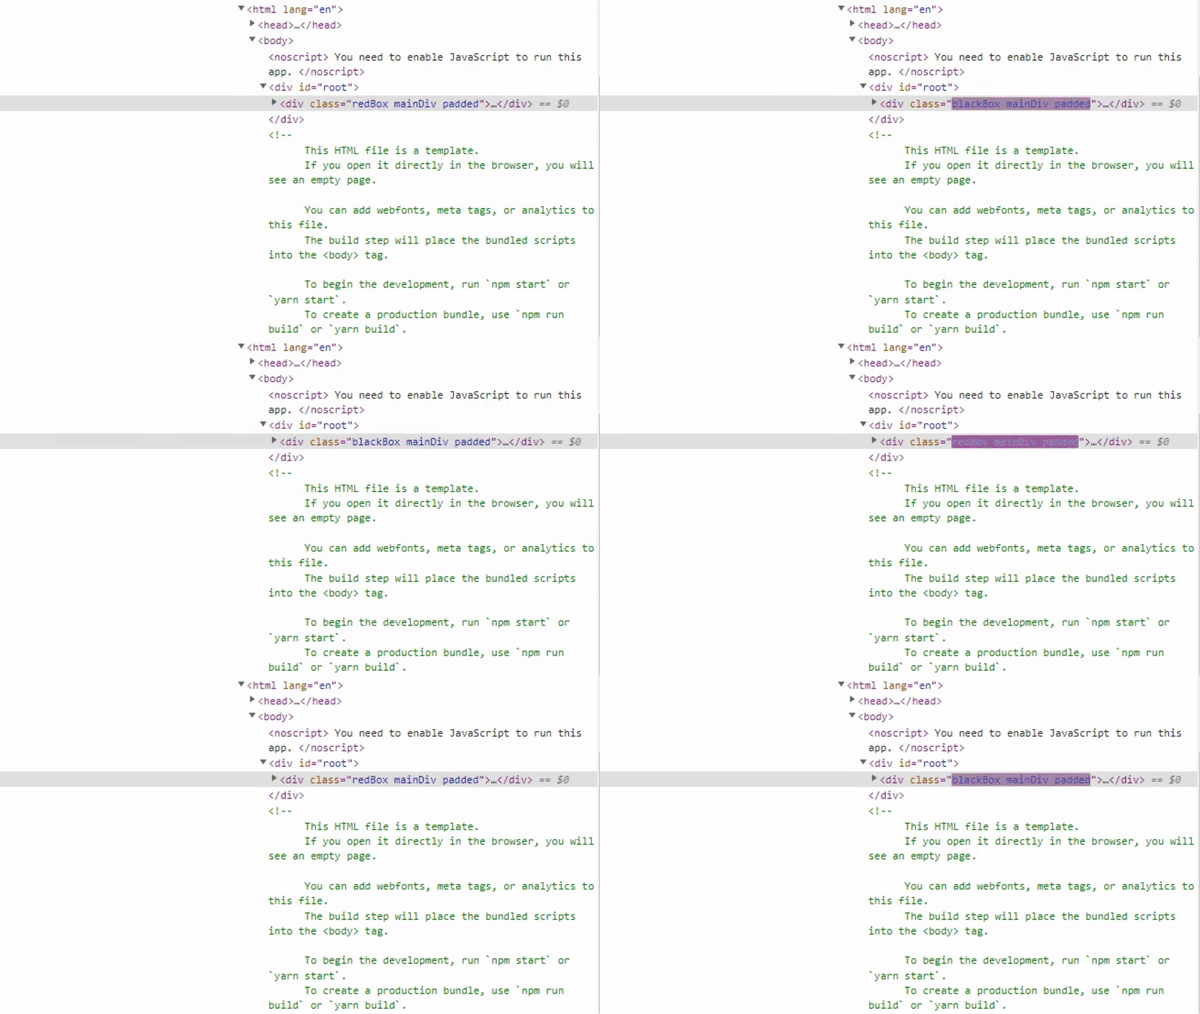
The source code for this element will look something like this:

As you can see, the first className is added conditionally, while the other two are always applied.
You can change the ternary operator to set multiple conditional className values. Like so:
export default function App() {
  const [boolean, setBoolean] = useState(true);
  return (
    <div
      className={
        (boolean ? "redBox flat" : "blackBox padded") + " " + "mainDiv"
      }
    >
      <button onClick={() => setBoolean(!boolean)}>Change the boolean</button>
    </div>
  );
}
Apply multiple className values – example
You can also use simpler syntax of template literals to apply multiple conditional classNames.
In this example, we apply three className values. First is dynamic, the other two are always applied.
export default function App() {
  const [boolean, setBoolean] = useState(true);
  return (
    <div
      className={
        `${variable} mainDiv padded`
      }
    >
      <button onClick={() => setBoolean(!boolean)}>Change the boolean</button>
    </div>
  );
}
It’s easier to leave spaces between className values instead of manually adding strings for empty space between class values.
We can add as many conditional className values as we need. For example, this is how to add multiple conditional className values:
export default function App() {
  const [boolean, setBoolean] = useState(true);
  return (
    <div
      className={
        `${boolean ? "redBox rounded" : "blackBox square"} mainDiv padded`
      }
    >
      <button onClick={() => setBoolean(!boolean)}>Change the boolean</button>
    </div>
  );
}
If the boolean state variable is true, React will add two conditional className values – ‘redBox’ and ’rounded’.
‘mainDiv’ and ‘padded’ are always applied, regardless of the condition.
Setting up a condition
We can write an inline condition, like so:
<input className=`${inputValue.indexOf('@') === -1 ? "redBorder" : ""} large`></input>In this example, we check if the value entered into the field contains ‘@’ symbol, to determine if it’s a valid e-mail and style the element accordingly.
It’s better to define complex conditions and return dynamically generated className outside of JSX.
const conditionalClass = inputValue.indexOf('@') === -1 ? "redBorder" : ""
<input className=`${conditionalClass} large`></input>
You can use if, for, case and other useful syntax outside JSX. You can not do that within JSX.
These statements and keywords are often necessary for setting up a complex condition. Also, you can mix them with logical AND ( && ) and OR ( || ) operators.